

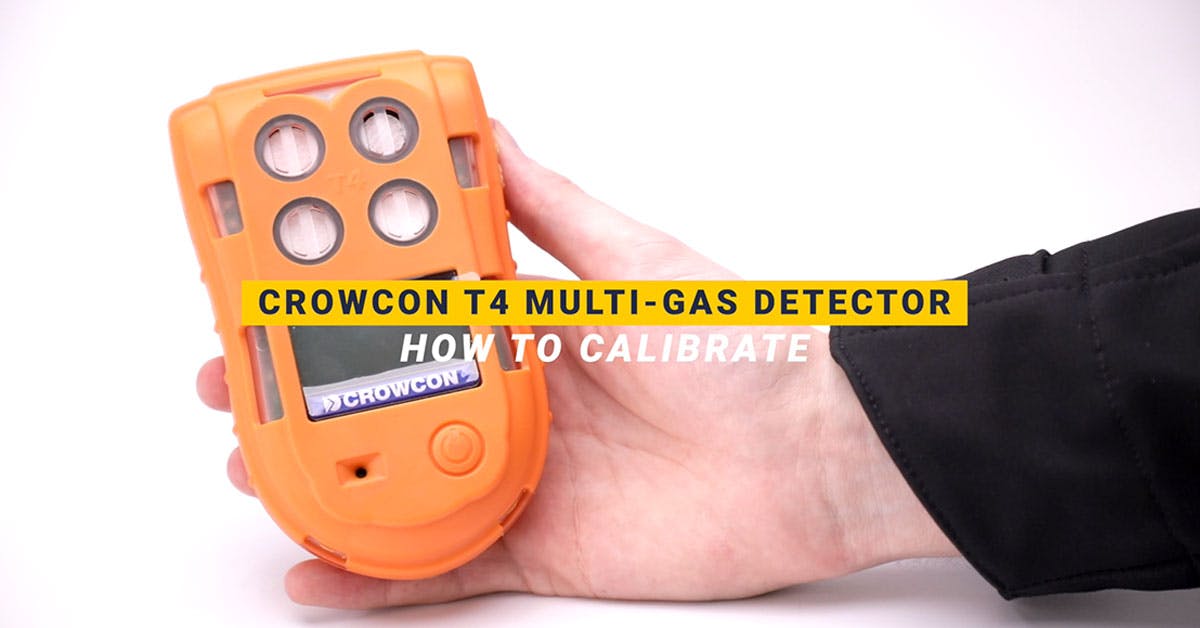
How Do I Calibrate the Crowcon T4 Multi-Gas Detector?
In this short guide, we'll walk you through the process of manually calibrating your Crowcon T4 Multi-Gas Detector.
What Do I Need?

For the calibration of your unit, you require a specific concentration of calibration gas, a calibration plate, tubing and a suitable regulator. We have a standard 4-gas configuration to show you, capable of detecting levels of LEL, H2S, CO and O2.
You should have a calibration plate in the box with your T4 gas detector and the tubing must be purchased separately. Before beginning, ensure you are in a safe, fresh air environment free of any hazardous gas.
How Do I Calibrate My Crowcon T4?
Firstly, turn your monitor on by holding in the power button and allowing the T4 to run through its automatic processes.

Once the home screen is displayed, double click the power button to access the menu. Then single click the power button until you see the calibration icon. Finally, to select calibration, double click the power button and then press the button again before the countdown ends.
Zero Calibration
Your Crowcon T4 will then prompt you to start a zero calibration with a 'ZERO 5' message displayed on the screen. Click the power button to begin the zero calibration. Following a successful zero calibration, a screen will be displayed with a tick for each gas that has passed. Now, an apply gas screen and countdown will be displayed.
Calibration
Now, an apply gas screen and countdown will be displayed. Ensure the calibration plate, tubing, regulator and gas cylinder are properly connected. Attach the calibration plate to your T4 and start applying gas by releasing the regulator valve. When the T4 detects the applied gas, the calibration gas readings will be displayed. Then a screen will be displayed with a tick for each gas that has passed calibration. If unsuccessful a cross will be displayed on the corresponding gas.

Next, a remove gas screen will be displayed and you may close off the calibration gas and remove the calibration plate.
An updated calibration due date should be displayed on the screen. After completion of the calibration process, the triple alarm system will be activated. You can simply disable the alarms by clicking the power button.
If unsuccessful at any stage throughout this process, you should calibrate your monitor again. If calibration continues to fail, contact the manufacturer.
Check out our video walkthrough below
The maintenance of your gas detectors is vital to ensuring the safety of workers. At Frontline Safety, we can service your gas detectors for you. For more information contact our sales team on 0141 771 7749.
Buy the Crowcon T4 multi gas detector here.
-
 Selecting Appropriate Respiratory Protection for Your Workplace
-
 Breathing Safely: The MSA miniSCAPE's Critical Role in Lab and Pharma Environments
-
 Maximising Safety: The Top Benefits of Using a Confined Space Escape Set
-
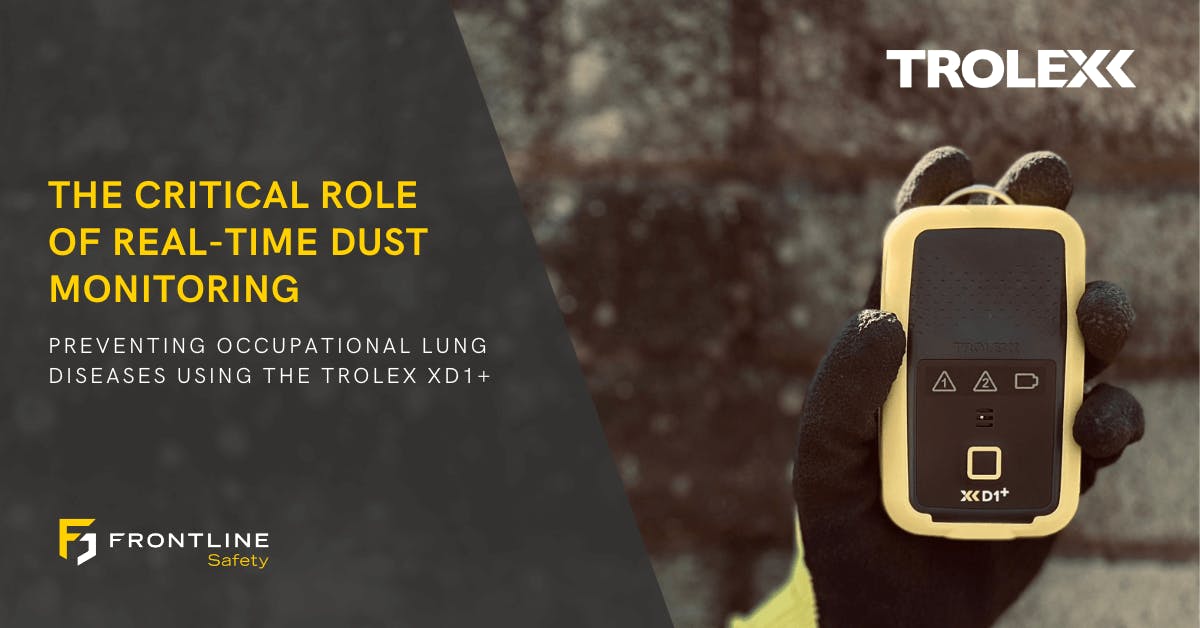 Breathing Safely: The Critical Role of Real-Time Dust Monitoring with the Trolex XD1+ in Preventing Occupational Lung Diseases
-
 Fall Protection in the Food and Drink Manufacturing and Processing Industry