

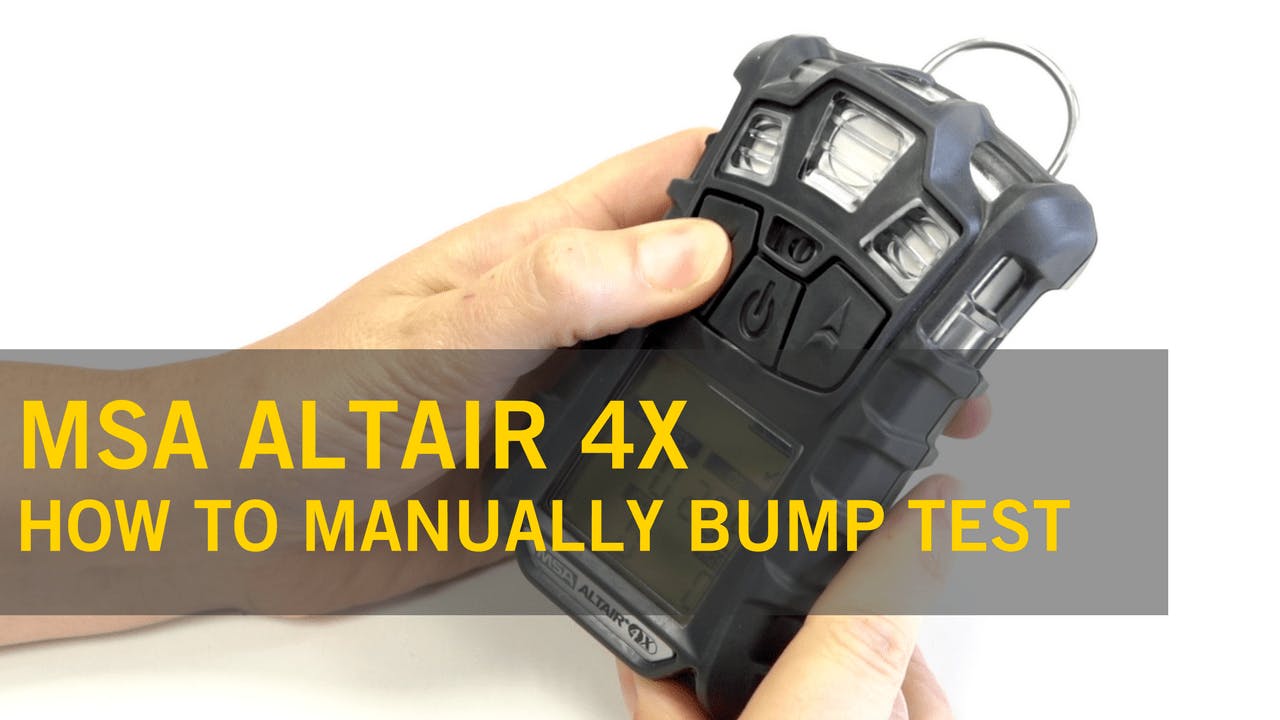
How Do I Manually Bump Test the MSA Altair 4X?
Why Should I Bump Test the MSA Altair 4X?
- Bump testing your gas detectors is an essential part of their daily maintenance
- This should be carried out in accordance with the manufacturer's guidelines and any site or company-specific procedures
- To get a clear understanding of why the bump testing of gas detectors is important, please refer to our in-depth guide here.
In this tutorial, with a useful video guide, we'll look at how to manually bump test the Altair 4X multi-gas detector.
Please note: The MSA Altair 4X has been replaced by the MSA Altair 4XR.
What do I need to know before bump testing the MSA Altair 4X?
In the configuration used in our handy video tutorial, we used the standard configuration and has sensors for LEL, O2, CO and H2S. Before bump testing, ensure you are using the correct concentration of gas and that the cylinder is not past its expiration date. Once you’ve switched it on the MSA Altair 4X will complete a self-check. After this has been completed the screen will show normal operation mode.

What Do I Need to Bump test the Altair 4X?
To bump test your MSA Altair 4X you’ll need:
- the correct concentration of calibration gas
- calibration cap and tubing
- a suitable regulator
In this case, we’re using standard calibration mix of 20 PPM H2S, 60 PPM CO, 1.45% CH4 and 15% O2 in a balance of Nitrogen.
You’re now ready to bump test your MSA Altair 4X.
MSA Altair 4X - Step-By-Step Guide to Manually Bump Testing
Watch our tutorial video on bump testing the Altair 4X here.
How Do I Bump Test the MSA Altair 4X?
- Attach the tubing on to the regulator
- Screw the regulator to the calibration gas bottle and ensure the valve is closed for now
- Attach the calibration cap to the front of the monitor
- To activate the bump test mode, press the DOWN arrow.
- The screen will show BUMP TEST and you should select the middle button to proceed
- Now turn the valve on the regulator to release the gas
- The sensors should start to respond and you should see values on the screen similar to those on your gas cylinder
- Once it’s successful the screen will show BUMP PASS and a small tick will appear on the screen
- When the bump test completes the unit will return to normal measurement mode, so it’s likely that the alarms will be activated until the calibration cap is removed and the alarms are acknowledged

The bump test is now complete and you can turn off the gas and remove the calibration cap. You will start to see the values returning to normal and operation can continue.
Be sure to consult any site or company-specific bump test procedures before carrying out any maintenance of gas detectors. Should you require assistance or guidance then be sure to get in touch with our team via the Contact Us page.
-
 Selecting Appropriate Respiratory Protection for Your Workplace
-
 Breathing Safely: The MSA miniSCAPE's Critical Role in Lab and Pharma Environments
-
 Maximising Safety: The Top Benefits of Using a Confined Space Escape Set
-
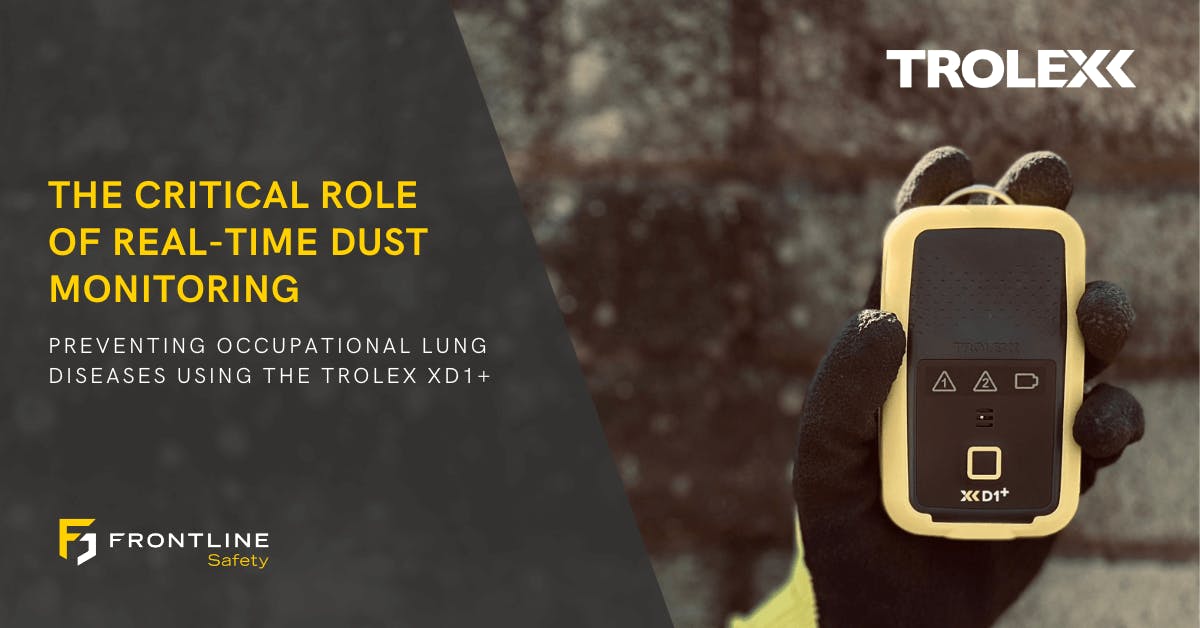 Breathing Safely: The Critical Role of Real-Time Dust Monitoring with the Trolex XD1+ in Preventing Occupational Lung Diseases
-
 Fall Protection in the Food and Drink Manufacturing and Processing Industry