

BW GasAlertMicroClip XL - How to Manually Bump Test
In this guide, we’ll talk you through how to manually bump test your GasAlertMicroClip XL from BW Technologies.

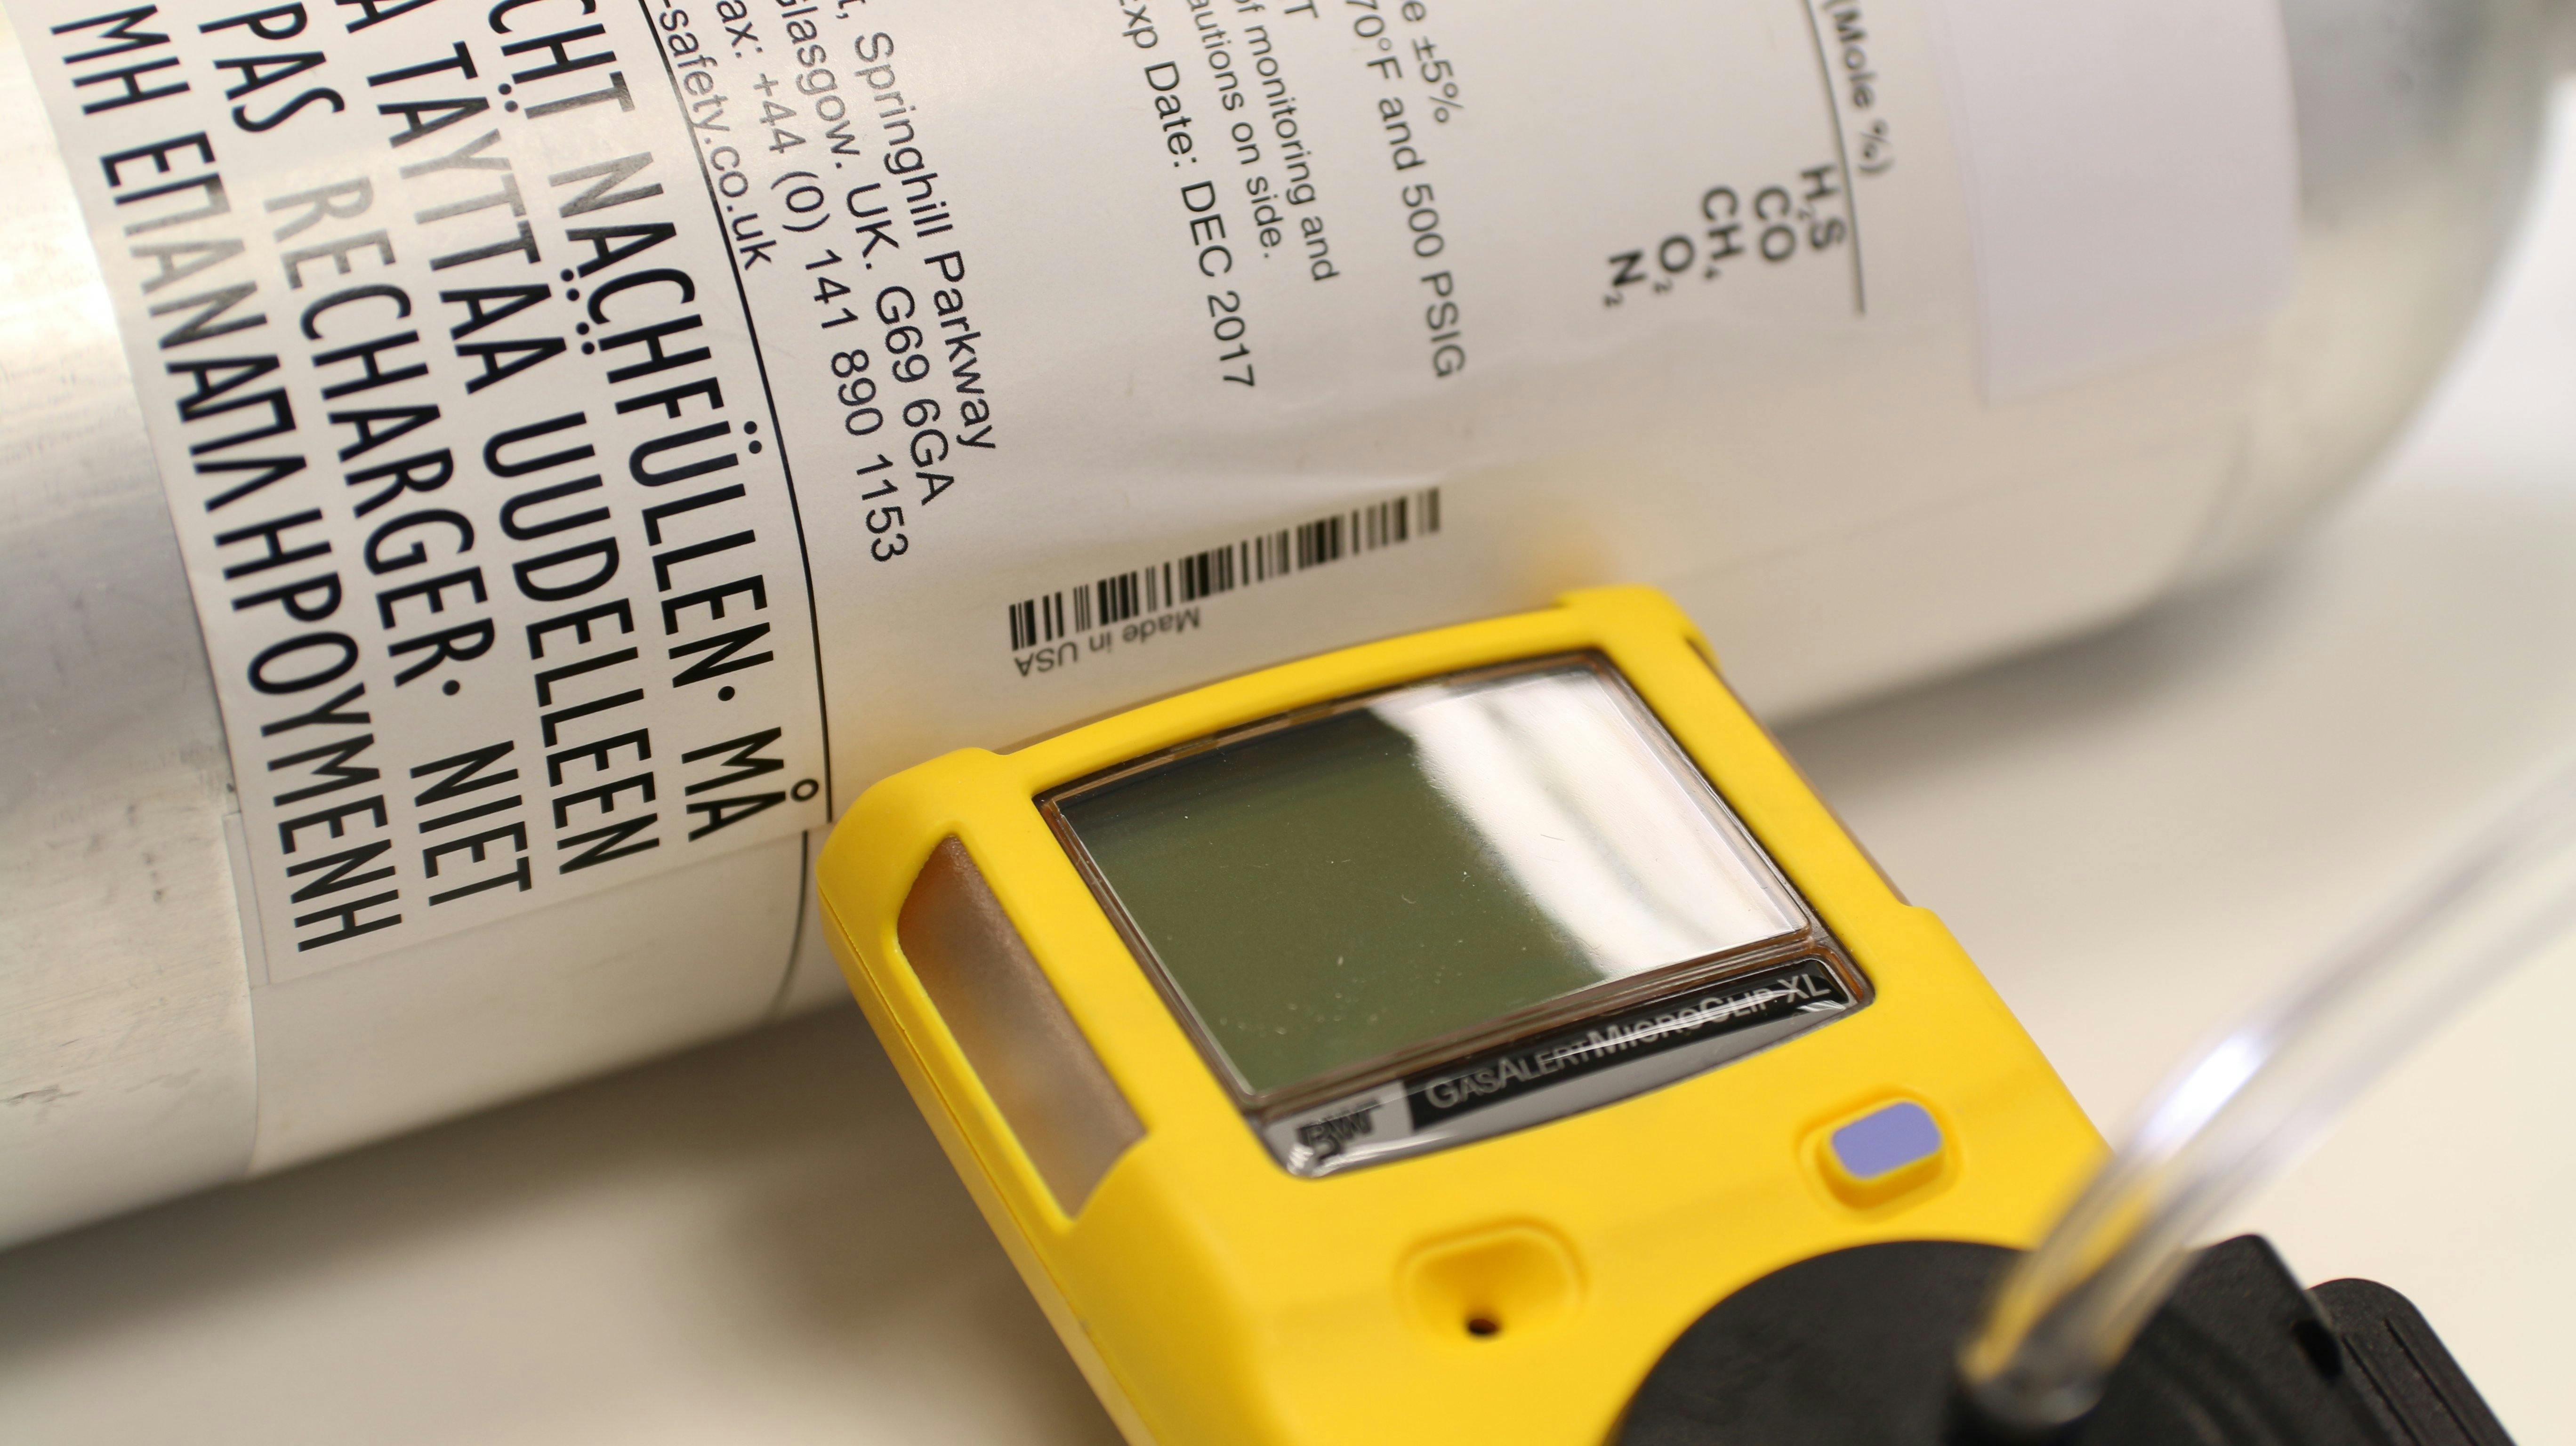
Before bump testing, ensure you are using an approved gas and that the cylinder is not past its expiration date. Most manufacturers recommend that your gas monitor should be bumped daily but just make yourself aware of any site-specific or company-specific procedures around bump testing. Read our guide to bump testing gas detectors here.
Once you’ve switched it on the MicroClip XL will complete a self-check. After this has been completed it will then sit at a standard measurement mode.

You’ll need the calibration adapter which comes with the unit, calibration tubing, a known concentration of calibration gas, a suitable regulator and of course the monitor itself. In this case we’re using 25 ppm h2s, 100 ppm co, 2.2% ch4 and 18% o2 in a balance of Nitrogen.
You’re now ready to bump test your GasAlertMicroClip XL.
Attach the tubing to the adapter, which in turn is attached to the regulator and calibration gas bottle, attach the calibration clip to the monitor (the sensors of the GasAlertMicroclip XL are situated on the lower front part of the monitor), and then turn on the gas.

The sensors should start to respond and you should see values on the screen similar to those on your gas cylinder.
You can now close the regulator and remove the calibration cap from the monitor.
It may take a few seconds for the gas to clear from the sensors and for the alarms to stop. You've now successfully bump tested the GasAlertMicroClip XL from BW Technologies.
If you have any questions about gas detection and maintaining gas detectors, get in touch using LiveChat or via our Contact Page.
-
 Investing in Safety: Cost or Savings? (World Day for Safety and Health at Work)
-
 Selecting Appropriate Respiratory Protection for Your Workplace
-
 Breathing Safely: The MSA miniSCAPE's Critical Role in Lab and Pharma Environments
-
 Maximising Safety: The Top Benefits of Using a Confined Space Escape Set
-
 Breathing Safely: The Critical Role of Real-Time Dust Monitoring with the Trolex XD1+ in Preventing Occupational Lung Diseases